



So you just applied for GST registration and now you are sitting there wondering what happens next. I have been there. The form is submitted, the payment is done, and all you have is a message on your phone with some 15-digit number. That number is your ARN, and it is basically the only thing that will tell you whether your GST application is moving forward or stuck somewhere in the system.
Let me explain everything in the simplest way possible.
What exactly is ARN?
Application Reference Number is “ARN.” It is created with the instant of submitting your registration application on the GST portal. It is sent to your registered email and Mobile number at the time. Imagine you have ordered something from Amazon or Flipkart, you receive a tracking code, that is similar to the functionality of this code. If you don’t have this number, you wouldn’t be able to see where your application is, or what is happening to your application.
There are 15 digits in this number. It is unique to your application. No other number is used more than once. My advice? Store in three locations. Copy and paste it into your notes app, get a picture of the SMS and send it to yourself. Once you lose this number, you can’t tell your status anymore, which can be a real headache.
Why do you need to check the status?

Here is the truth. GST registration does not happen overnight. For most people, it takes around 7 to 10 working days. But if the tax officer decides to visit your business address to check if your shop or office actually exists, it can take up to 30 days. Sometimes the officer looks at your documents and says they need more information. When that happens, you get a limited time to respond. If you miss that window, your application gets rejected and you have to start all over again.
That is why checking your ARN status matters. It tells you exactly where things stand. Is your file still waiting in line? Has an officer picked it up? Do they need something from you? Or is it finally approved? Knowing this saves you from nasty surprises.
How to check your ARN status step by step
You do not need to be a tech expert. You do not even need your GST login ID yet. Just follow these simple steps.
First, open your browser and visit the official GST portal at gst.gov.in. Please do not use random third party websites. Stick to the official government site only.
Once the homepage loads, look at the top menu and click on Services. A dropdown menu will appear. From there, select Registration. Then click on Track Application Status.
You will land on a new page. There is a dropdown menu labeled Module. Select Registration from that list.
Now enter your 15 digit ARN in the text box. Be very careful while typing. Even one wrong digit will give you an error.
Below that, you will see a captcha code. Type exactly what you see in the image into the box provided.
Finally, click the Search button. Within seconds, your application status will appear on the screen.
Read Also: Best Hand Creams for Dry Skin: Reviews & Buying Tips
Understanding what the status means
When your status loads, you will see a list of different stages. The ones that are complete will show in green. The ones still pending will show in grey. Here is what each status actually means.
Pending for Processing means your application is submitted and sitting in a queue. No officer has reviewed it yet. You just need to wait patiently.
Site Verification Assigned indicates that a government official has been sent to your business location. This usually happens if the system flags your application for verification.
Site Verification Completed – This indicates that the officer has completed the site visit and has returned the report. Now it’ll be up to the main tax officer to look at everything and decide.
When documents or information are needed, but are not yet received by the officer, it is pending for clarification. This is important. To submit the required clarification, you need to login into the GST portal and submit the same urgently. Do not delay.
Clarification Filed Pending for Order means you have already submitted the extra information. Now the officer is reviewing your response before giving the final order.
Approved means congratulations. Your application is accepted. You will soon receive your GSTIN number and login credentials.
Rejected means the officer has declined your application. Read the reason carefully, fix the issue, and reapply.
What to do after getting approved?
Seeing Approved feels great, but you are not done yet. You still need to get your login details. Go back to that same Track Application Status page. Enter your ARN again. This time you will see a link that says Click Here. Click on it. The system will send your username and temporary password to your registered email and mobile number.
Use those credentials to log into the GST portal. Once you are inside, find and download your GST Registration Certificate. It is a PDF file. Save it on your phone, your laptop, and maybe print a copy too. You will need this certificate for opening a current bank account, filing monthly returns, and many other business tasks.
How long should you wait?
For straightforward applications with no complications, expect 7 to 10 working days. If the officer asks for clarification, add another 7 days after you submit your response. If physical verification is triggered, the whole process can take up to 30 days.
Do not panic if 5 or 6 days pass and nothing changes. That is normal. But if it has been more than 15 days and the status has not moved at all, something might be wrong. Check if you missed any emails or SMS messages from the department.
Some honest tips from someone who has tracked this before
Keep your registered mobile number active and your email inbox clean. All OTPs, updates, and login details go there. If your phone is switched off or your inbox is full, you will miss critical information.
Check your ARN status every two or three days after applying. Do not wait for the government to notify you. Their messages sometimes get delayed or end up in your spam folder.If you see Pending for Clarification, treat it like an emergency. Respond immediately with exactly what they asked for. Do not send extra documents. Do not send less. Give them precisely what they requested.
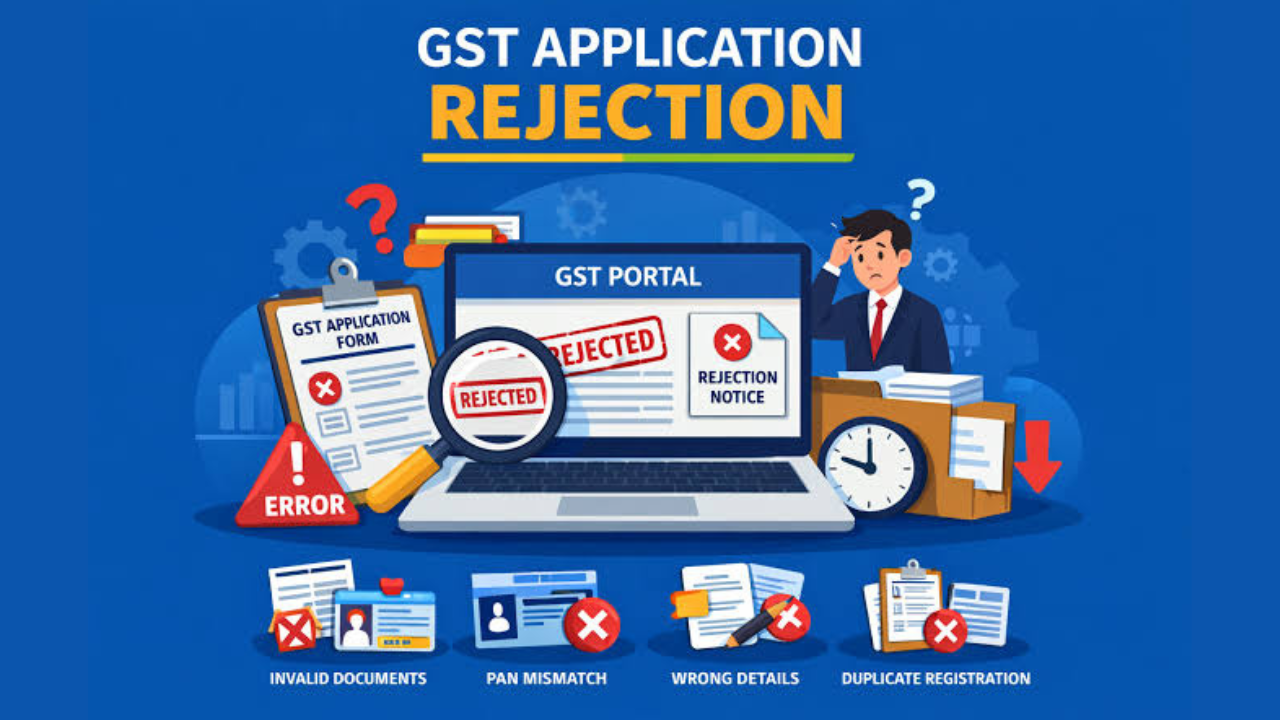
If your application gets rejected, do not get discouraged. Most rejections happen because of address mismatches or missing supporting documents. Figure out the exact reason, fix it properly, and submit a fresh application.
Final Word
Your ARN is not just another random code. It is your only window into what is happening with your GST registration. Checking it takes less than two minutes, costs absolutely nothing, and can save you weeks of confusion and stress.
Just remember three things. Use only the official GST portal at gst.gov.in. Keep your ARN number safe. And check your status regularly until you see that beautiful word. Approved.
Once you get your GSTIN and certificate, you are officially part of the GST system. Then the real work of filing returns and maintaining records begins. But that is a different conversation for a different day.
Read More: Best Sunscreen for Men in 2026: Top Picks for Every Skin Type
